Toyota Corolla service light reset: Step-by-step instructions by generation
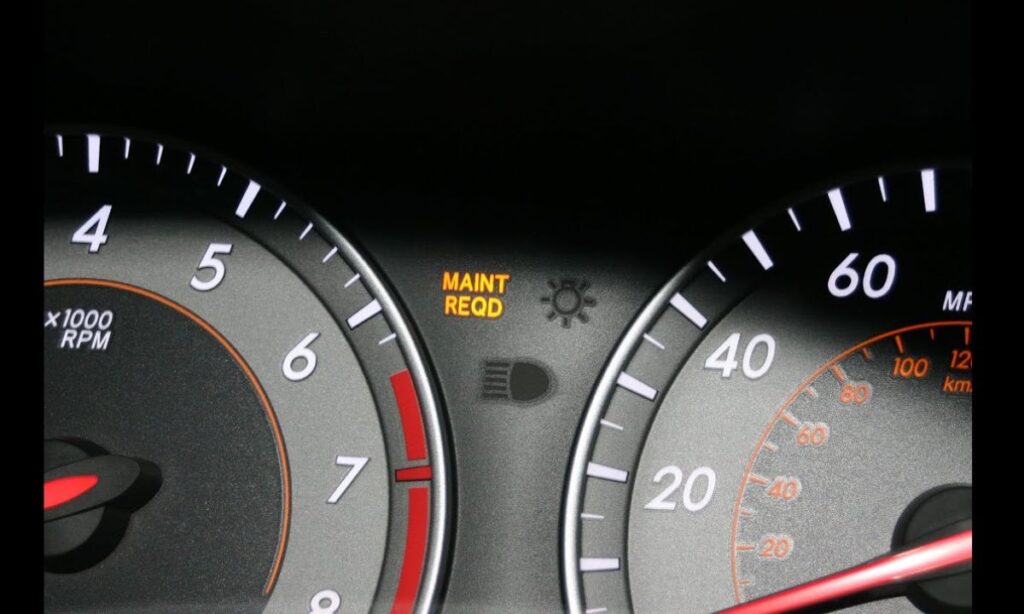
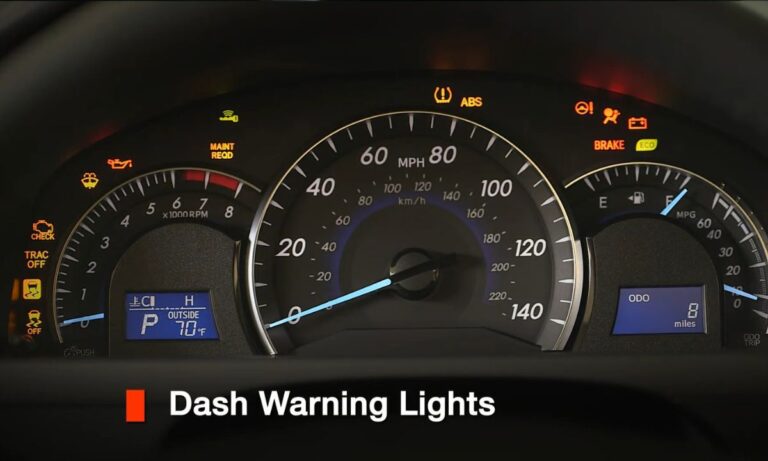
The Toyota Corolla’s maintenance reminder light, often labeled “MAINT REQD” or appearing as a wrench icon, alerts drivers when it’s time for routine servicing like oil changes. Introduced in the 1990s to promote timely upkeep, this system tracks mileage or time intervals via the vehicle’s ECU. Resetting it post-service is a quick DIY task that recalibrates the counter, preventing unnecessary warnings and ensuring accurate future alerts. Methods vary by generation, from simple button presses in older models to menu navigation in modern ones with digital displays. This guide covers generations from the 9th (2003-2008) to the 12th (2020-present), still prevalent on roads, drawing from owner manuals and real-world tips for reliability. Always perform resets with the engine off to avoid errors, and if the light persists, it may indicate unresolved issues like low oil levels—consult a mechanic. These steps empower Corolla owners to maintain their vehicle’s health efficiently, extending its legendary longevity.
9th generation (2003-2008): button-based reset for analog clusters
The E120/E130 Corolla featured straightforward dashboards with mechanical odometers, making resets intuitive for DIY enthusiasts. This era’s light triggers every 5,000 miles, focusing on oil changes.
To reset the maintenance light:
- Insert the key and turn to the “ON” position without starting the engine—accessories should light up.
- Press the odometer button until it displays the total mileage (ODO), not Trip A or B.
- Turn the ignition to “OFF” while holding the odometer button firmly.
- Continue holding the button and turn back to “ON”; the display will show dashes (—–) counting down.
- Hold until the dashes disappear and “000000” appears, then release—the light should extinguish.
- Start the engine to verify; if it remains, repeat the process.
This method suits all trims, from base CE to sporty S, and works consistently across sedans and hatchbacks. Common pitfalls include not reaching true ODO mode or releasing the button prematurely. For vehicles with aftermarket clusters, consult a dealer for compatibility.
10th generation (2009-2013): enhanced with trip computer integration
The E140/E150 brought digital elements and optional ABS, with the service light now part of a more sophisticated trip computer. Resets incorporate the keyless entry trends of the time.
Step-by-step instructions:
- Sit in the driver’s seat and ensure all doors are closed to avoid interruptions.
- Turn the ignition to “ON” (or press start twice without brake for push-button models) but don’t crank the engine.
- Cycle the odometer/trip button to show “Trip A” on the display.
- Switch the ignition to “OFF” while pressing and holding the trip reset button.
- Hold the button and turn back to “ON”; watch for the maintenance light to flash or the display to show resetting indicators like dashes.
- Continue holding for about 10 seconds until the light goes out and the mileage resets to zero for the interval.
- Release and test by starting the car; the reminder should be cleared.
This applies to LE, S, and XRS trims, with hybrids like the Prius-influenced variants following similar logic. If equipped with navigation, ensure the system is off to prevent conflicts. Owners note that low battery voltage can cause failed resets—check and charge if needed.
11th generation (2014-2019): digital display and menu navigation
The E160/E170/E180 era introduced color multi-information displays (MID) in higher trims, shifting resets toward touchscreen or button-based menus for tech-savvy users. The light now accounts for variable intervals based on driving conditions.
For analog clusters (base models):
- Key to “ON” without starting.
- Press odometer to “Trip A.”
- Key to “OFF,” hold button, key to “ON.”
- Hold until reset completes (dashes to zero).
For digital MID (LE and above):
- Turn ignition to “ON” (push start twice, no brake).
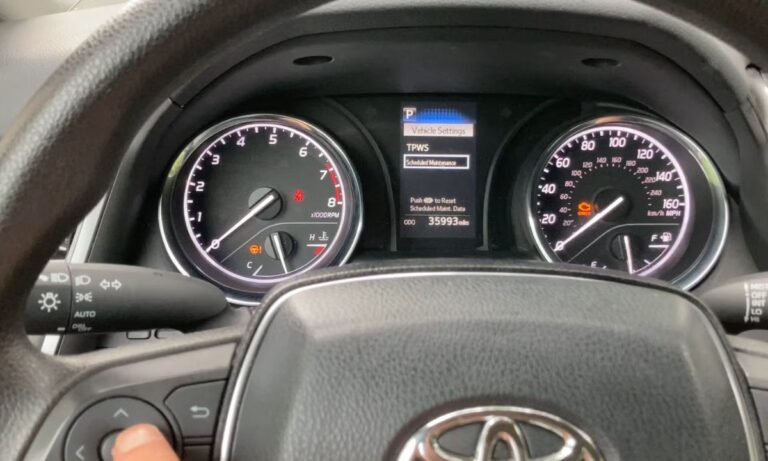
- Use steering wheel arrows to navigate the MID menu to “Settings” or “Vehicle Settings.”
- Select “Maintenance Reset” or “Oil Maintenance.”
- Confirm “Yes” to reset; the system may prompt for mileage input.
- Exit menu and cycle ignition to verify.
This generation’s hybrids (Corolla Hybrid) follow the digital method, integrating with the hybrid system’s diagnostics. Tips include ensuring the vehicle is in Park and no error codes are present, as they can block resets. For stubborn lights, disconnect the battery for 10 minutes as a fallback.
12th generation (2020-present): advanced MID and app integration
The current E210 Corolla leverages full-color displays and Toyota Safety Sense, with resets streamlined through intuitive interfaces. Hybrids and sedans/hatchbacks share similar processes, often syncing with the Toyota app for reminders.
Standard reset procedure:
- Press the start button twice (no brake) to enter accessory mode.
- On the MID (behind steering wheel), use arrows to scroll to the gear icon (Settings).
- Navigate to “Vehicle Settings” > “Scheduled Maintenance” or “Maintenance Reset.”
- Select “Reset” and confirm; the display will show completion.
- Restart the vehicle to check—the wrench icon should vanish.
For models without MID buttons (base trims):
- Ignition to “ON.”
- Odometer to “Trip A.”
- Ignition “OFF,” hold trip button, ignition “ON.”
- Hold for 10-15 seconds until reset.
This applies to LE, SE, XSE, and Hybrid variants, with GR Corolla sport models identical. Integration with the Toyota app allows remote monitoring, but resets must be done in-vehicle. Common advice: If the light returns immediately, scan for OBD codes, as it may signal overlooked maintenance like air filter replacement.
These generation-specific guides cover the vast majority of Corollas on roads today, from thrift-store finds to new leases. Mastering the reset not only silences annoyances but encourages regular servicing, preserving the Corolla’s reputation for bulletproof reliability. Whether commuting in a 2005 or cruising in a 2025, this simple ritual keeps your drive smooth and worry-free.