Toyota Corolla E170 Fuses: Complete Guide 2012-2019
The Toyota Corolla E170, produced from 2012 to 2019, uses a multi-box fuse and relay system to protect every electrical circuit in the vehicle. Knowing the exact location, amperage, and function of each fuse is essential for diagnosing electrical faults, replacing blown fuses correctly, and avoiding damage to sensitive electronics. This guide covers every fuse box in the E170 generation, including the engine compartment fuse block, the instrument panel fuse block, and the additional relay boxes, with complete fuse listings for all circuits.
Fuse Box Locations on the Toyota Corolla E170
The E170 Corolla has two primary fuse box locations:
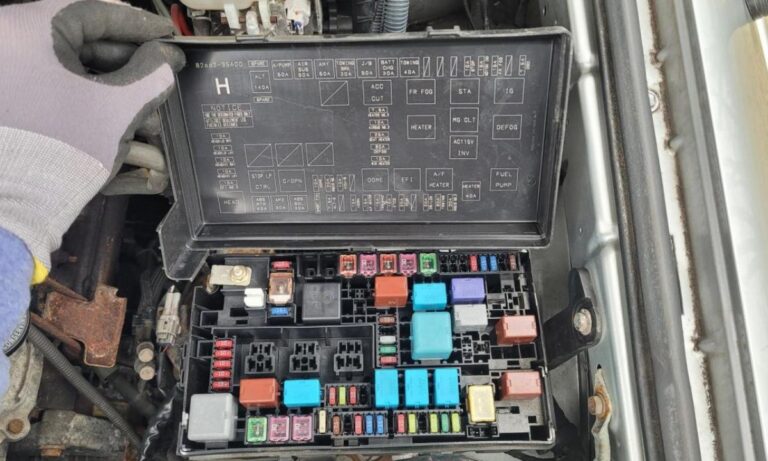
- Engine Compartment Fuse Block – located on the left side of the engine bay, near the battery. It is a black plastic box secured with clips and contains high-amperage fuses and relays for major systems.
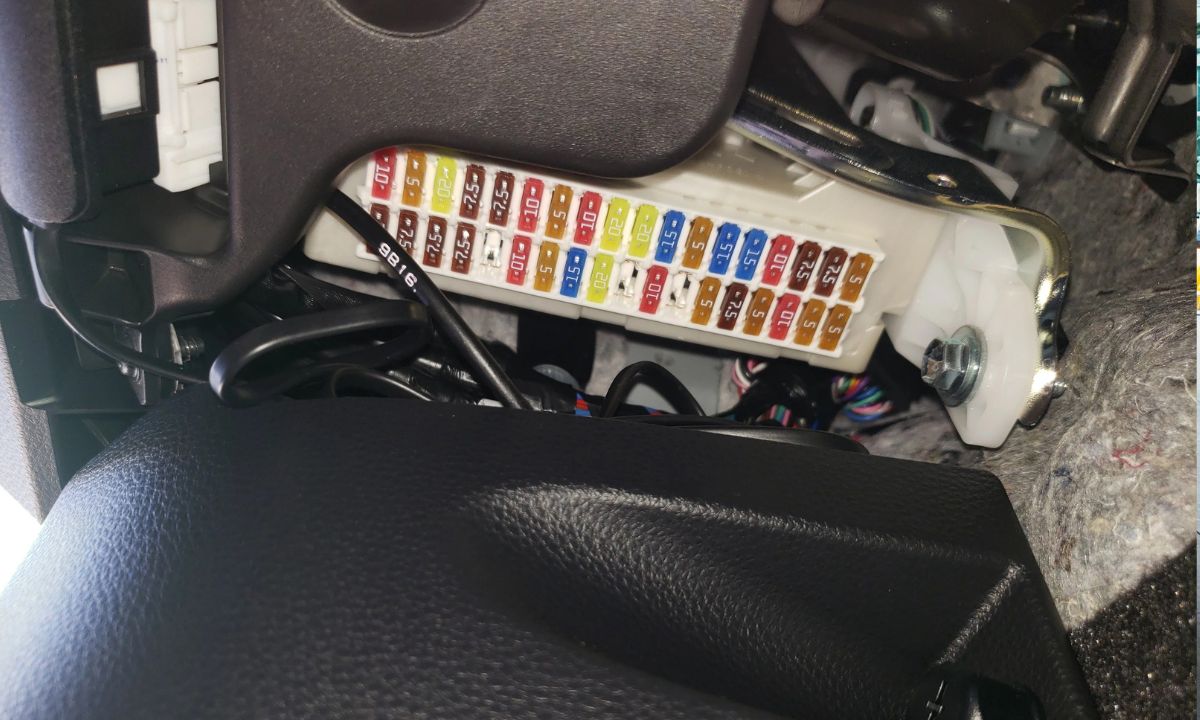
- Instrument Panel Fuse Block (Interior) – located on the driver’s side lower dashboard, behind a small access cover to the left of the steering column. It contains lower-amperage fuses for cabin and accessory circuits.
Engine Compartment Fuse Block – Complete Fuse List
The engine bay fuse block protects high-current circuits. All fuses and fusible links are listed below:
- FL1 – 120A – Main fusible link (EFI main power supply)
- FL2 – 80A – Fusible link for ABS and brake actuator
- FL3 – 60A – Fusible link for power steering (EPS)
- FL4 – 40A – Fusible link for alternator charge circuit
- F1 – 40A – Cooling fan main relay
- F2 – 30A – ABS / VSC actuator motor
- F3 – 30A – Power window main relay
- F4 – 20A – EFI (engine fuel injection system)
- F5 – 15A – Headlight relay (low beam left)
- F6 – 15A – Headlight relay (low beam right)
- F7 – 15A – Headlight relay (high beam left)
- F8 – 15A – Headlight relay (high beam right)
- F9 – 10A – ECU-B (engine control unit battery supply)
- F10 – 10A – Ignition coil / injector circuit
- F11 – 10A – Oxygen sensor heater
- F12 – 10A – Electric throttle body (ETCS)
- F13 – 7.5A – Engine immobilizer / transponder ECU
- F14 – 40A – Blower motor (HVAC fan)
- F15 – 30A – Rear window defogger
- F16 – 20A – Horn relay
- F17 – 15A – Daytime running lights (DRL) where fitted
- F18 – 10A – Radiator cooling fan (condenser fan relay)
- F19 – 10A – A/C compressor magnetic clutch
- F20 – 10A – Starter relay signal circuit
- F21 – 7.5A – VSC / traction control ECU supply
Instrument Panel Fuse Block – Complete Fuse List
The interior fuse block handles cabin accessories, safety systems, and comfort electronics. Open the cover panel to access; a fuse puller tool is usually clipped inside.
- 1 – 10A – Tail lights, licence plate lights
- 2 – 15A – Front fog lights
- 3 – 10A – Instrument cluster, speedometer, gauges
- 4 – 10A – Stop lights (brake light switch circuit)
- 5 – 15A – Cigarette lighter / accessory socket
- 6 – 10A – Audio system (radio, head unit)
- 7 – 7.5A – Clock and interior ambient lighting
- 8 – 10A – Door locks (central locking actuators)
- 9 – 20A – Power windows (front left and right)
- 10 – 20A – Power windows (rear left and right)
- 11 – 15A – Windscreen wiper motor (front)
- 12 – 10A – Rear wiper motor
- 13 – 10A – Windscreen washer pump
- 14 – 10A – Turn signals and hazard flasher unit
- 15 – 7.5A – Combination meter (odometer, MID display)
- 16 – 10A – SRS airbag ECU
- 17 – 7.5A – Seat belt reminder and occupant detection
- 18 – 10A – Reverse lights
- 19 – 10A – Mirror adjustment motor and heater
- 20 – 10A – Interior dome light, map lights, luggage light
- 21 – 15A – Heated seats (where fitted)
- 22 – 10A – OBD-II diagnostic port power
- 23 – 7.5A – Keyless entry / smart key ECU
- 24 – 10A – TPMS (tyre pressure monitoring system)
- 25 – 15A – Navigation / multimedia interface (where fitted)
- 26 – 7.5A – Parking sensors / reverse camera (where fitted)
- 27 – 10A – Bluetooth / hands-free system
How to Identify and Replace a Blown Fuse
A blown fuse in the E170 Corolla is identified by a broken metal filament visible through the transparent fuse body. Always use the following procedure:
- Turn off the ignition and remove the key before accessing any fuse box.
- Use the fuse puller stored in the instrument panel fuse box lid.
- Match the replacement fuse to the exact same amperage rating – never substitute a higher-rated fuse.
- If the new fuse blows immediately, there is a short circuit in the affected circuit; do not keep replacing fuses.
- Mini (mini-blade) fuse type is used throughout both boxes on the E170.
Common Electrical Issues Related to Fuses on the E170
- Inoperative power windows – Check fuses 9 and 10 in the instrument panel block and relay F3 in the engine block.
- Radio or audio not working – Check fuse 6 (instrument panel) and verify the antenna fuse if applicable.
- Stop lights not illuminating – Fuse 4 is the first component to test before inspecting the brake light switch.
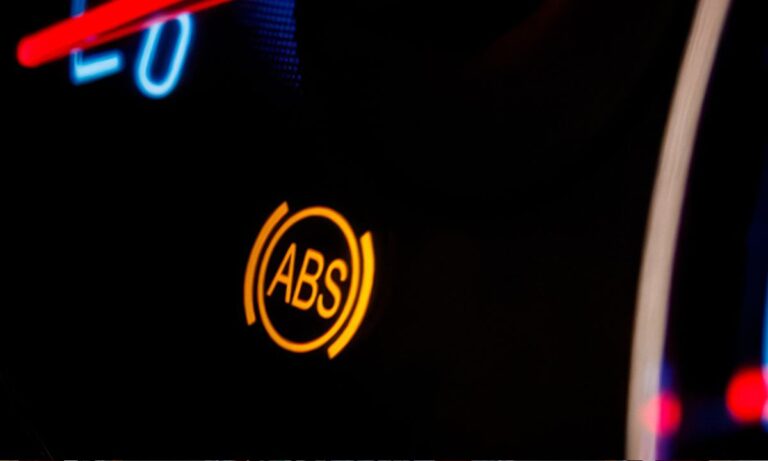
- ABS warning light on with no braking response – FL2 (80A fusible link) in the engine bay may have blown after a surge.
- No interior lighting at all – Fuse 20 controls dome and map lights; check before replacing bulbs.
- OBD scanner not powering up – Fuse 22 supplies the OBD-II port; replace if scanner fails to initialise.
Important Notes for the E170 Fuse System
- Fuse layouts may vary slightly between market variants (JDM, European, North American, Australian) and between trim levels such as the Altis, Auris-based, and sedan/hatchback body styles.
- Always consult the fuse box lid diagram first, as Toyota may revise allocations during a mid-cycle update (notably around the 2016 facelift).
- The fusible links (FL1–FL4) are not standard blade fuses; they require dealer-grade tools and specific Toyota fusible link cartridges to replace safely.
- For hybrid-adjacent accessories, some late E170 markets offered mild electrification options; those vehicles may have an additional fuse sub-block under the rear seat area.