How to activate service mode on Chevrolet vehicles – Step-by-step guide

Many Chevrolet owners need to put their vehicle into a special Service Mode (also called Maintenance Mode or Service Position) when performing DIY repairs. The most common reasons include:
- Replacing or servicing brake pads and rotors (especially rear brakes with electronic parking brake)
- Replacing windshield wiper blades
- Working on the 12V battery or electrical system
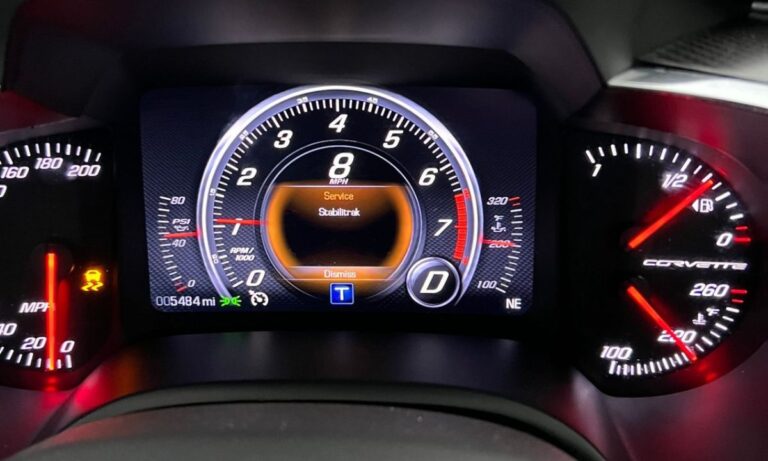
- Performing diagnostics without starting the engine
- Moving the vehicle without starting it (placing transmission in neutral)
Chevrolet (GM) vehicles use different procedures depending on the model year, whether it has a key or push-button start, and the specific system. Below are the most popular and useful service modes with exact instructions.
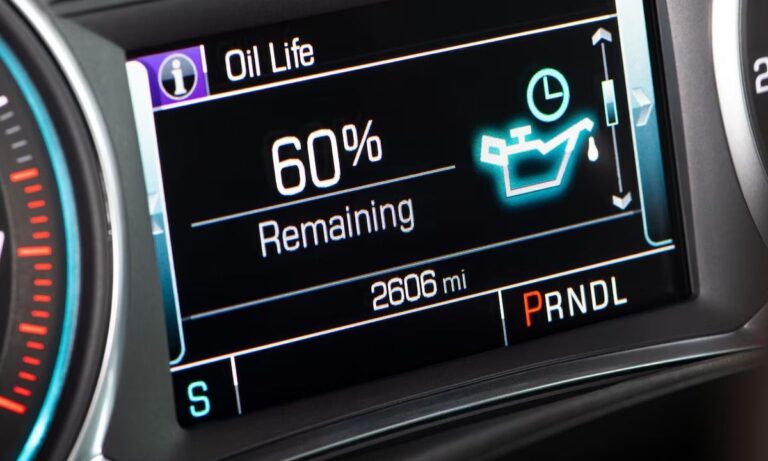
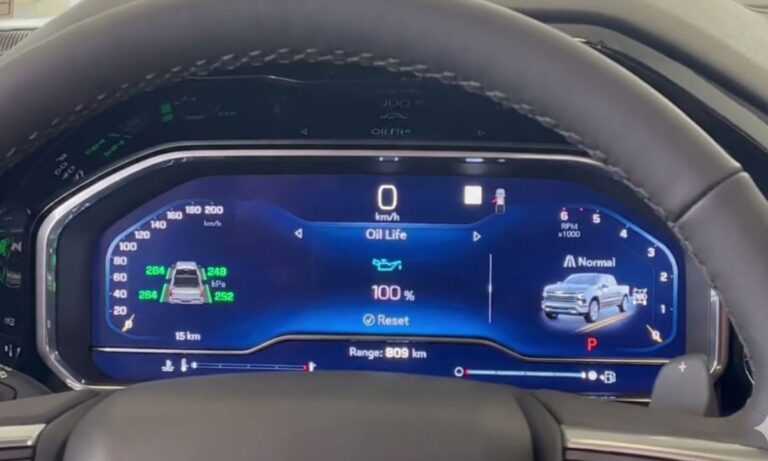
General service / accessory mode (Power on without starting the engine)
This mode powers up the dashboard, radio, windows, and other accessories while keeping the engine off. Useful for diagnostics, programming, or battery work.
For Push-Button Start Models (most 2015+ Chevrolet vehicles):
- Sit in the vehicle and close the door.
- Do not press the brake pedal.
- Press and hold the Engine Start/Stop button for 5–10 seconds.
- The dashboard lights will turn on fully, and the vehicle will enter Service Mode (sometimes shown as a green light or full cluster activation).
- To exit: Press the Start/Stop button again (without brake).
Alternative method (some models):
- Press and hold the brake pedal → Press Start/Stop once → Release brake → Press and hold Start/Stop for 5 seconds.
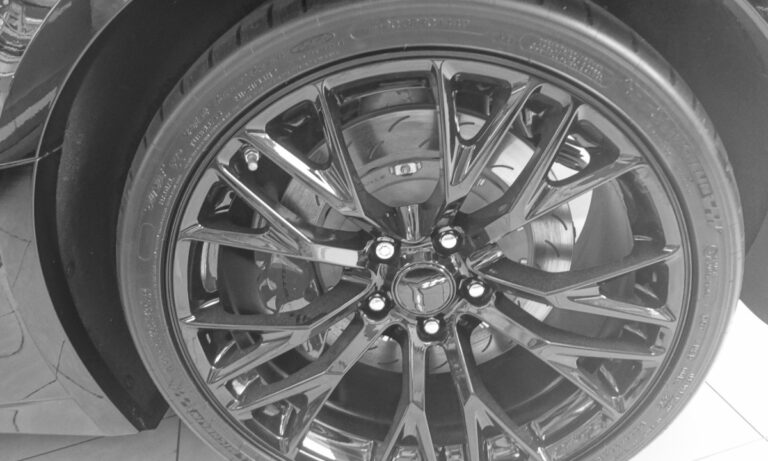
Brake service mode (Electronic parking brake – most important for pad replacement)
This mode retracts the electronic parking brake pistons so you can compress the calipers and install new brake pads easily. Required on most 2016+ Chevrolet models with electronic parking brake (Silverado, Tahoe, Equinox, Malibu, Cruze, Traverse, etc.).
Standard Procedure (works on many 2018–2026 models):
- Turn the ignition ON (engine off) — press Start/Stop without brake.
- Firmly press and hold the brake pedal with your foot.
- While holding the brake pedal, press and hold the electronic parking brake switch (usually the button near the center console) for 10–15 seconds.
- The parking brake light will illuminate, and after a few seconds, a wrench icon or “Brake Service Mode” message will appear and start flashing.
- Release the brake pedal, then press the parking brake button once more.
- The calipers are now retracted — you can safely push the pistons back.
To exit Brake Service Mode:
- Press the brake pedal and pull/raise the parking brake switch. The system will extend the pistons and the flashing light will turn off.
Note: On some trucks (Silverado/Sierra), you may also need to disconnect the battery negative terminal after entering this mode for full brake service.
Windshield wiper service / maintenance position
This lifts the wiper arms away from the windshield for easy blade replacement or cleaning.
How to activate Wiper Service Mode:
- Turn the ignition OFF.
- Within 20–30 seconds, pull the wiper stalk toward you (Mist position) and hold it for 2–5 seconds.
- The wipers will move to the upright service position.
- Turn the ignition off again if needed to keep them raised.
Alternative method (some models):
- Turn ignition to Accessory (press Start/Stop once without brake).
- Pull the wiper stalk to Mist and hold until the arms move up.
To return the wipers to normal: Turn the ignition on and operate the wipers once.
Transport / logistics mode (Battery preservation mode)
This low-power mode reduces battery drain during long-term storage or shipping. It is often enabled from the factory on new vehicles.
To turn Transport Mode ON or OFF:
- Start the engine (or turn ignition ON).
- Press and hold the brake pedal.
- Turn on the hazard flashers (emergency lights).
- Press and hold the Start/Stop button for 15 seconds (or until the message appears).
- A “Transport Mode On/Off” message will display on the Driver Information Center, and the battery warning light may flash.
Repeat the same steps to toggle it back to normal Customer Mode.
Important tips for all Chevrolet service modes
- Always park on a level surface and engage the transmission in Park.
- For safety, chock the wheels when working on brakes.
- After brake service, you may need to reset the brake pad life monitor using the Driver Information Center menu or a scan tool.
- If a mode does not activate, try with the doors closed and no foot on the brake (or exactly as described).
- Procedures can vary slightly by model year and trim (Cruze, Malibu, Equinox, Traverse, Silverado, Tahoe, etc.). Check your owner’s manual for the exact wording.
- If the electronic systems do not respond, a diagnostic scan tool (like FORScan or GM MDI) may be required for full service mode on newer models.
These service modes make DIY maintenance much easier and prevent unnecessary warning lights or module faults. Always perform repairs safely and consult your Chevrolet dealer if you are unsure.