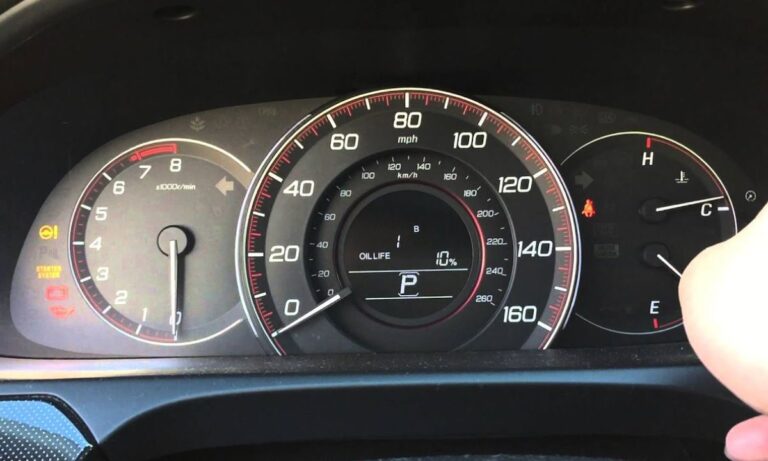
Check Engine Light on Honda: Causes, Error Decoding, and Elimination Methods
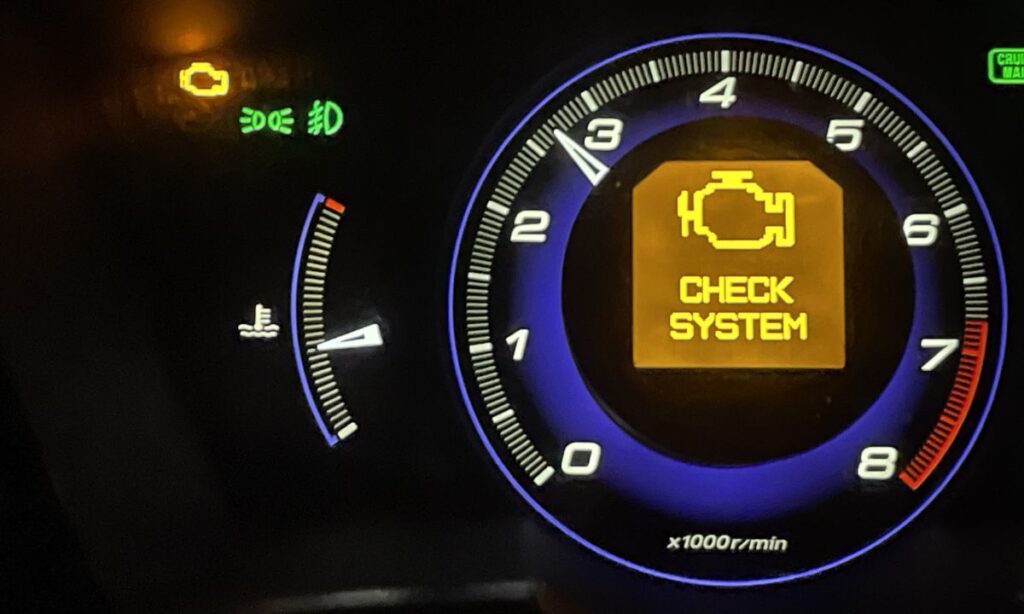
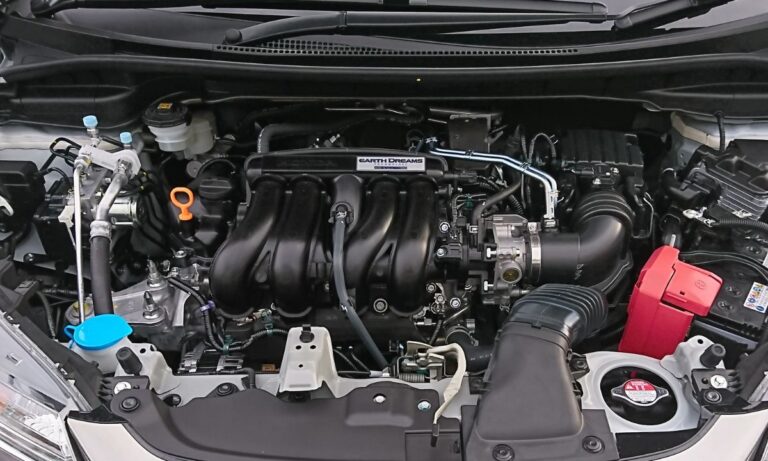
The Check Engine light on Honda vehicles can appear unexpectedly and often worries owners. This indicator warns about problems in the engine or related systems — from simple issues to more complex faults. Timely diagnosis helps prevent expensive repairs and keeps your Honda running smoothly. In this article we cover the most common causes, specific error codes, and effective ways to resolve them. Understanding this information will allow you to respond quickly and correctly when the warning light activates.
What Does the Check Engine Light Mean and Why It Activates on Honda
The Check Engine indicator is activated by the engine control unit when it detects deviations from normal parameters. On popular Honda models such as Civic, Accord, CR-V, HR-V, Pilot, or Ridgeline, this often happens due to fuel quality, sensor failures, or emissions system issues. The light can stay on constantly or flash — flashing usually indicates serious misfires and requires immediate attention. Ignoring the signal may lead to increased fuel consumption, loss of power, or even engine damage. It is recommended to read the error codes with an OBD scanner as soon as possible.
Main Causes of Check Engine Light Activation on Honda Vehicles
Honda’s diagnostic system is sensitive to various factors. Most problems are connected with fuel, ignition, sensors, or emissions equipment. Here are the primary reasons:
- Low-quality or incorrect fuel.
- Worn spark plugs or faulty ignition coils.
- Problems with oxygen (lambda) sensors.
- Dirty throttle body or clogged fuel injectors.
- Catalytic converter inefficiency.
- Vacuum leaks in the intake manifold.
- Issues with the fuel pump or fuel filter.
- VTEC system malfunctions.
- Problems with the EVAP system.
These causes are typical for both older and newer Honda models with petrol and hybrid powertrains. Regular maintenance significantly lowers the chance of the light appearing.
Decoding Popular Check Engine Errors on Honda
Using an OBD-II scanner reveals exact trouble codes. Below are 20 of the most frequent codes on Honda vehicles with descriptions and recommended fixes:
- P0171 — System too lean (Bank 1). Caused by vacuum leaks, dirty MAF sensor, or weak fuel pump. Solution: inspect hoses, clean MAF sensor, replace fuel filter.
- P0300 — Random/multiple cylinder misfire detected. Usually due to spark plugs, coils, or wires. Fix: replace ignition components and check compression.
- P0420 — Catalyst system efficiency below threshold. Common on Honda due to catalytic converter wear. Actions: diagnose exhaust system and replace converter if needed.
- P0134 — Oxygen sensor circuit no activity (Bank 1 Sensor 1). Solution: replace the upstream oxygen sensor.
- P0135 — Oxygen sensor heater circuit malfunction (Bank 1 Sensor 1). Fix: check wiring and replace the sensor.
- P0141 — Oxygen sensor heater circuit malfunction (Bank 1 Sensor 2). Solution: replace downstream oxygen sensor.
- P0301–P0304 — Cylinder-specific misfire (cylinder 1–4). Replace spark plug and coil on the affected cylinder.
- P0401 — Exhaust gas recirculation flow insufficient. Clean or replace the EGR valve.
- P0455 — Evaporative emission system leak detected (large leak). Check gas cap, hoses, and purge valve.
- P0507 — Idle control system RPM higher than expected. Clean the throttle body thoroughly.
- P0101 — Mass air flow sensor circuit range/performance problem. Clean or replace MAF sensor.
- P0113 — Intake air temperature sensor high input. Replace the IAT sensor.
- P0122 — Throttle position sensor circuit low input. Check or replace TPS sensor.
- P0340 — Camshaft position sensor circuit malfunction. Replace the camshaft position sensor.
- P0369 — Camshaft position sensor intermittent. Inspect wiring and replace sensor if necessary.
- P0420 — (repeated for emphasis) Catalyst efficiency low — very common on Honda Accord and Civic.
- P1456 — EVAP control system leakage (fuel tank area). Typical Honda code — check fuel cap and tank area.
- P1457 — EVAP control system leakage (canister area). Inspect purge valve and hoses.
- P0011 — Variable valve timing (VTEC) over-advanced. Check oil level and replace VTC solenoid.
- P0562 — System voltage low. Test battery and alternator.
These codes help accurately identify the issue on popular Honda models.
How to Diagnose and Fix Check Engine Yourself
Start with simple checks: tighten the gas cap, visually inspect wires and hoses under the hood. Connect an OBD-II scanner to read codes. After fixing the problem, clear the codes with the scanner or by disconnecting the battery for 10–15 minutes. Always replace spark plugs and filters according to the maintenance schedule. If the light is flashing and the engine is shaking or losing power, stop driving and seek professional help.
Recommendations for Preventing Check Engine Errors on Honda
To minimize Check Engine light occurrences, always use high-quality fuel from reputable stations. Perform full computer diagnostics every 10,000–15,000 km. Regularly service the VTEC system, clean the throttle body, and replace oxygen sensors preventively after 80,000–100,000 km. Pay attention to any changes in engine sound, vibrations, or fuel consumption. Addressing issues early helps maintain reliability and prolong the life of your Honda.