Why your Chevrolet air conditioner stops working: quick diagnosis and fixes
On a hot day, your Chevrolet cabin can turn into an oven while warm air blows from the vents. This frustrating situation catches many drivers by surprise. The air conditioning system is a complex mechanism where every component affects overall performance. Let’s examine the most common reasons why the AC fails on models like Cruze, Malibu, Tahoe, Silverado, Spark, and Aveo, and show you how to diagnose and fix the problem yourself or with professional help.
How the Chevrolet AC system works and why it fails
The air conditioning system operates on a refrigeration cycle: the compressor pressurizes the refrigerant, the condenser releases heat, and the evaporator cools the air inside the cabin. Any disruption in this cycle results in no cold air. Problems usually fall into three categories: mechanical, electrical, and maintenance-related.
Most common causes of AC failure
- Low refrigerant level or leak — the number one reason. Over time, seals wear out, micro-cracks appear in hoses, or the condenser gets damaged. The system automatically shuts down the compressor to prevent serious damage when pressure drops.
- Faulty compressor — the heart of the AC system. You may hear clicking or humming, but the clutch doesn’t engage. On Tahoe and Silverado this often happens due to worn bearings after high mileage.
- Clogged cabin filter — blocks airflow. Dust, leaves, and pollen reduce air flow, making the system work harder and cool less effectively.
- Dirty or damaged condenser — located in front of the radiator, it easily gets blocked by dirt, insects, or road debris. Heat exchange fails and pressure rises.
- Electrical issues — blown fuses, broken wiring to the compressor clutch, faulty pressure or temperature sensors. On Cruze and Aveo the wiring connector at the compressor is a frequent weak point.
- Blend door or actuator problems — hot air from the heater mixes with cold air or airflow becomes weak.
- Dirty evaporator — mold and debris build up inside, causing bad odors and reduced cooling performance.
Step-by-step self-diagnosis
Start with these simple checks before visiting a workshop:
- Start the engine, set the AC to maximum cold and highest fan speed.
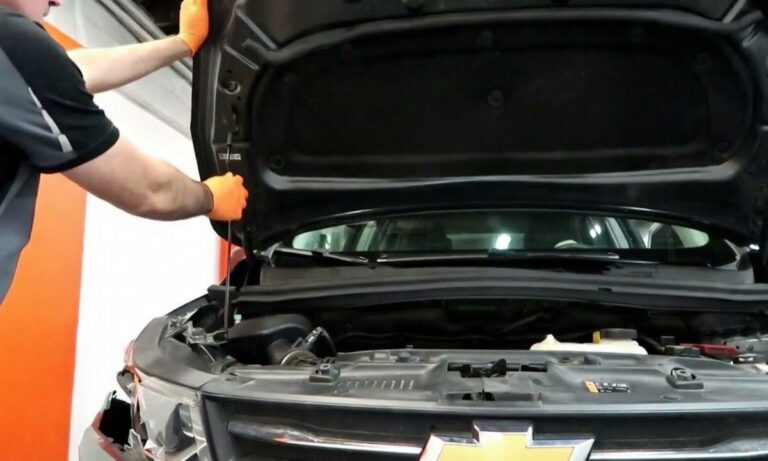
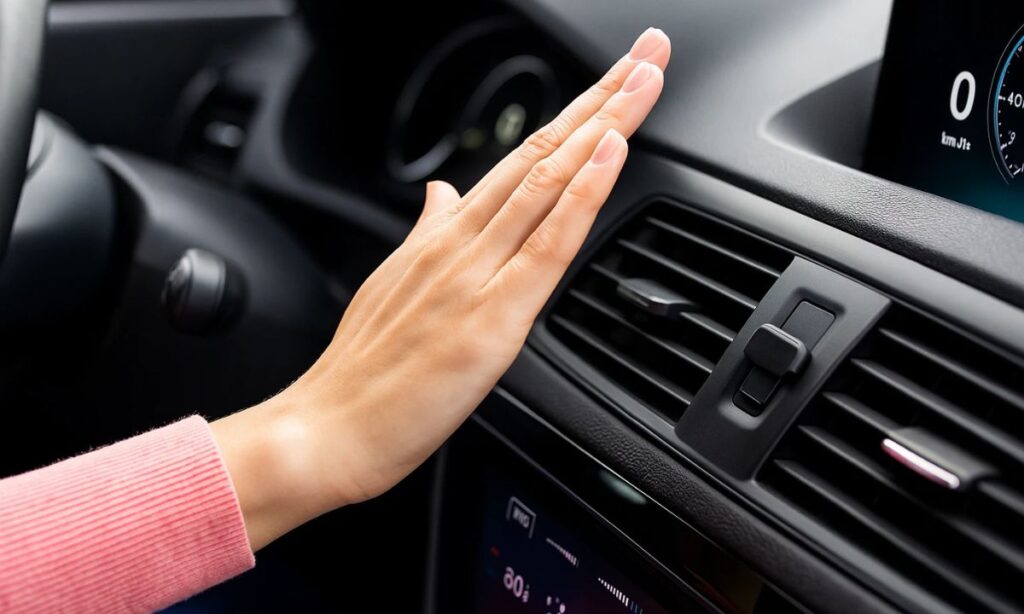
- Listen for the compressor clicking on under the hood and feel for slight vibration. No click usually means an electrical or low-pressure problem.
- Remove and inspect the cabin filter (usually behind the glovebox). A heavily clogged filter is an easy fix.
- Visually check the condenser for dirt, bent fins, or damage.
- Pay attention to unusual noises, weak airflow, or strange smells.
- If the compressor runs but air stays warm — refrigerant leak is very likely.
For accurate diagnosis, use manifold gauges to check system pressures (normal low-side reading is about 2-3 bar with the engine running).
Practical tips to restore and maintain your AC
- Replace the cabin filter every 10-15 thousand km to keep airflow strong and protect the system.
- Clean the condenser with low-pressure water at least once per season.
- Never ignore early signs of weak cooling — prolonged driving with a faulty AC puts extra stress on the engine and compressor.
- On models with automatic climate control (Malibu, Tahoe), check blend door calibration with diagnostic tools.
- Always fix leaks before recharging the system — otherwise the refrigerant will escape again.
When to visit a professional service
You can easily handle cabin filter replacement, cleaning, and fuse checks yourself. However, for refrigerant handling, compressor repair, or hose soldering, choose a specialized workshop with vacuum equipment and proper certification. A quality diagnosis usually takes 30-60 minutes and pinpoints the exact cause.
Proper care keeps your Chevrolet air conditioning system reliable and efficient on any trip — whether in city traffic or on long highways. Timely diagnosis saves time, money, and keeps every journey comfortable.