How to Reset the Service Light on Haval — Step-by-Step for All Models
After an oil change on a Haval, the maintenance reminder stays on until manually cleared. The reset method depends on the model and generation — the Jolion and current H6 use a touchscreen menu or steering wheel controls, while some older models require a brake pedal sequence or a diagnostic tool. Independent workshops in Australia and South Africa that service Haval vehicles should be aware that some models cannot be reset manually without a compatible OBD scanner.
With Touchscreen Menu
The Jolion (2021+), H6 third generation, and Jolion Pro use the central touchscreen for the maintenance reset:
- Start the vehicle or turn the ignition to ON.
- On the touchscreen, navigate to Settings → Vehicle → Maintenance Reminder or Service Reminder.
- Tap Reset to clear the current counter.
- Confirm when prompted. The display will return to the full service interval.
- Restart the engine to verify the dashboard reminder has cleared.
On the Jolion HEV and Jolion Pro HEV, the maintenance reminder covers both the petrol engine service and the high-voltage system inspection interval. Resetting through the menu clears the petrol service counter. The HV system reminder has a separate interval managed by the dealer.
With Brake Pedal and Dashboard Reset Button
The Haval Chitu and Jolion Pro in some market variants use a combined brake pedal and reset button sequence:
- Turn the vehicle power off completely.
- Press and hold the RESET button on the dashboard — do not release it.
- While holding the button, press and hold the brake pedal simultaneously.
- Turn the ignition key to ON or press the Start button to the ON position without starting the engine.
- Hold both the button and brake pedal until the maintenance light on the dashboard flashes.
- Release both when the light flashes. Turn the ignition off and restart to confirm.
Releasing the button or brake pedal before the flash means the reset has not completed — repeat the full sequence from the beginning.
With Steering Wheel Controls
Some H6 and Jolion variants with a multi-function steering wheel and instrument cluster display use this method:
- Turn the ignition to ON without starting the engine.
- Use the steering wheel navigation buttons to scroll through the instrument cluster menu.
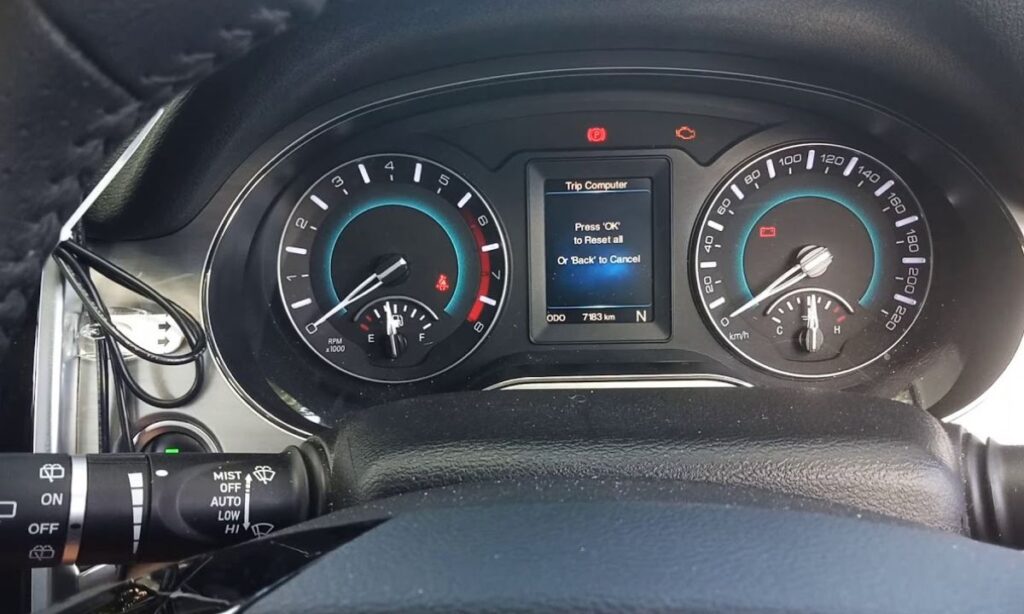
- Find the Service or Maintenance item — displayed with a wrench icon and a remaining distance counter.
- Press and hold the OK or confirm button until the counter resets to the full interval.
- Turn the ignition off and restart to verify.
With OBD Diagnostic Tool
Older Haval models — including the H2 (2018–2020) and early Australian-market H6 variants — do not support a manual button reset and require a compatible OBD2 scanner with GWM/Haval manufacturer-specific coverage. Standard generic OBD2 scanners that only read P-codes will not perform the service reset on these models.
If a manual method has been attempted and the light will not clear, connecting a scanner is the correct next step rather than repeating the manual procedure. Independent workshops in Australia note that this is the most common reason Haval service lights remain on after an oil change — the vehicle simply doesn’t support a manual reset for that generation.
Why the Light Sometimes Returns
A service light that reappears within a few hundred kilometres of a confirmed reset is not a reminder system fault. On Haval models, a returning light after a manual reset indicates either:
- A fault code stored in the ECU requiring a diagnostic scan to identify
- An incomplete reset where the ignition was not fully in the ON position during the procedure
Always wait at least 30 seconds after turning the ignition off before restarting to allow the ECU to register the completed reset. On touchscreen-equipped models, confirm the counter has changed on screen before switching the ignition off.

