
Nissan Altima L33 2013-2018 Fuses: Complete Guide
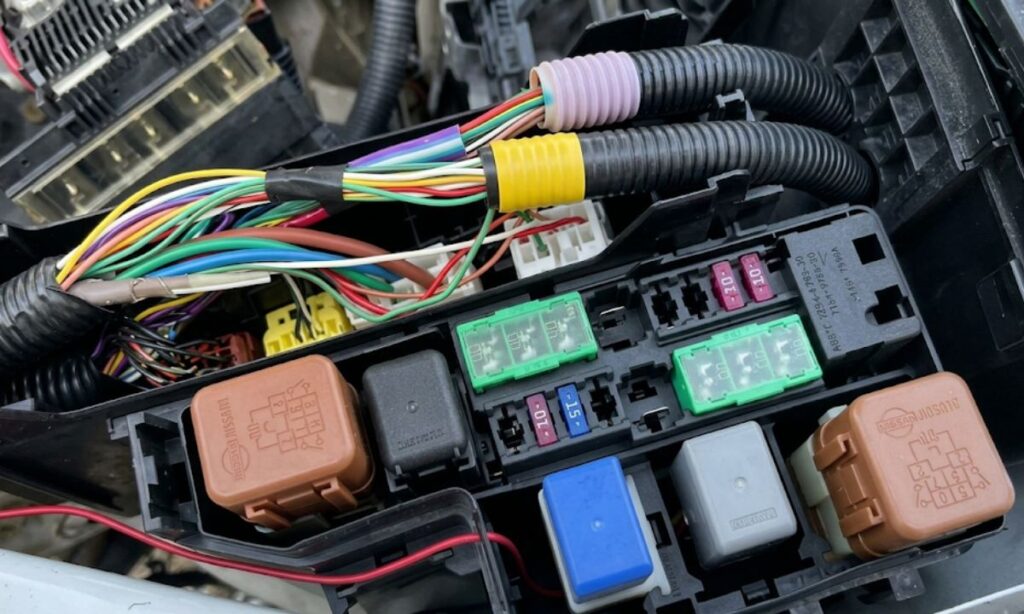
The Nissan Altima L33 (2013-2018) uses multiple fuse boxes to protect its electrical circuits. Understanding the exact location, amperage, and function of every fuse is essential for diagnosing electrical faults, replacing blown fuses correctly, and avoiding damage to sensitive components. This guide provides a complete, fuse-by-fuse breakdown of every box in the vehicle, including the engine compartment fuse/relay box and the interior cabin fuse box.
Fuse Box Locations in the Nissan Altima L33
The Altima L33 has two primary fuse box locations:
- Engine Compartment Fuse Box (IPDM E/R) – located in the engine bay on the driver’s side, near the battery. Contains high-amperage fuses and relays for major systems.
- Interior Cabin Fuse Box – located beneath the instrument panel on the driver’s side, behind a removable cover. Contains low-to-medium amperage fuses for interior and auxiliary systems.
Engine Compartment Fuse Box – IPDM E/R (Intelligent Power Distribution Module)
The IPDM E/R manages high-load circuits. Below is the complete fuse listing:
- F1 – 10A – ECM (Engine Control Module) power supply
- F2 – 10A – IPDM E/R internal circuit
- F3 – 10A – Headlamp (low beam, right)
- F4 – 10A – Headlamp (low beam, left)
- F5 – 10A – Cooling fan relay control
- F6 – 15A – ABS/VDC actuator and electric unit
- F7 – 10A – BCM (Body Control Module) power supply
- F8 – 10A – Headlamp (high beam, right)
- F9 – 10A – Headlamp (high beam, left)
- F10 – 20A – Radiator cooling fan motor
- F11 – 30A – Condenser cooling fan motor
- F12 – 30A – A/C compressor clutch
- F13 – 30A – ABS/VDC motor
- F14 – 40A – Starter motor relay
- F15 – 50A – Main power supply 1 (battery feed to IPDM)
- F16 – 50A – Main power supply 2 (battery feed to IPDM)
- F17 – 60A – Alternator output / main battery charge circuit
- F18 – 80A – Power steering (EPS motor, if equipped)
- F19 – 40A – Blower motor relay
- F20 – 10A – Daytime running lights (DRL), markets with DRL
- F21 – 15A – Horn relay circuit
- F22 – 10A – Rear defrost relay control
- F23 – 10A – Wiper relay (front)
- F24 – 10A – Ignition relay output, ECM/TCM supply
Interior Cabin Fuse Box – Complete Fuse List
The cabin fuse box is behind the dashboard panel on the driver’s left side. The cover has a fuse puller integrated. All fuses listed below:
- 1 – 10A – Audio system / infotainment unit
- 2 – 10A – Combination meter / instrument cluster
- 3 – 10A – TCM (Transmission Control Module) – CVT models
- 4 – 15A – Cigarette lighter / accessory socket
- 5 – 10A – BCM (Body Control Module) ignition feed
- 6 – 10A – Keyless entry / intelligent key module
- 7 – 20A – Power windows (front left)
- 8 – 20A – Power windows (front right)
- 9 – 15A – Power door locks (BCM output)
- 10 – 10A – Interior lighting / dome light / map lights
- 11 – 10A – Climate control unit (HVAC panel)
- 12 – 10A – Rear camera / reversing camera module
- 13 – 10A – SRS airbag control module
- 14 – 15A – Heated front seats (if equipped)
- 15 – 10A – Steering wheel audio controls / cruise control
- 16 – 10A – Sunroof motor (if equipped)
- 17 – 10A – Fuel pump relay coil / EVAP system solenoid
- 18 – 10A – Tail lights / parking lights (left cluster)
- 19 – 10A – Tail lights / parking lights (right cluster)
- 20 – 15A – Stop lamps (brake lights)
- 21 – 10A – Turn signal / hazard flasher relay
- 22 – 10A – Rear window defogger switch feed
- 23 – 20A – Rear power window (left) – if equipped
- 24 – 20A – Rear power window (right) – if equipped
- 25 – 10A – Mirror adjustment / folding mirrors
- 26 – 10A – OBD-II diagnostic port / data link connector
- 27 – 10A – Reverse lights / backup lamps
- 28 – 10A – Trunk lid release actuator
- 29 – 15A – USB charging port / AUX input module
- 30 – 10A – Navigation system / satellite antenna module
Fuse Ratings and Replacement Guidelines
Always replace any blown fuse in the Nissan Altima L33 with one of identical amperage and type. The Altima L33 uses standard mini blade (ATM) fuses in the cabin box and standard blade (ATC/ATO) and large blade (ALT/MIDI) fuses in the IPDM. Never substitute a higher-amperage fuse — doing so risks wiring harness fires and voided warranties. A blown fuse that immediately blows again after replacement indicates a short circuit that must be traced before re-fusing.
How to Identify a Blown Fuse in the Altima L33
- Remove the fuse using the plastic fuse puller clipped inside the cabin fuse box cover
- Hold the fuse up to light — a broken or melted filament wire inside confirms it is blown
- Use a 12V test light or multimeter on the fuse terminals with the circuit active for accurate testing without removal
- Check both sides of the fuse with a test light — power on one side only confirms a blown fuse
Common Electrical Issues Linked to Fuses in the L33 Altima
- No crank / no start – check F14 (starter relay) and F24 (ignition relay) in IPDM
- CVT warning light on – inspect fuse 3 (TCM) in cabin box
- Infotainment dead – check fuse 1 (audio) and fuse 30 (navigation) in cabin box
- Power windows inoperative – check fuses 7, 8, 23, 24 in cabin box
- Brake lights not working – check fuse 20 (stop lamps) in cabin box
- ABS/VDC warning – inspect F6 (ABS ECU) and F13 (ABS motor) in IPDM
- A/C not engaging – inspect F12 (compressor clutch) in IPDM
